All-in-One WP Migration Pro adds to the functionality of the All-in-One WP Migration plugin by allowing you to import large backups regardless of your hosting provider’s upload limitations. It also integrates with all major cloud storage providers, facilitating the direct import of your websites/network of sites from your cloud/storage.
This tutorial contains details of:
- Import using All-in-One WP Migration Pro
- Activating cloud extensions
Import using All-in-One WP Migration Pro
You start the import procedure by selecting the Import option from the All-in-One WP Migration plugin menu:

Selecting this option opens a new window where you can select a backup source:
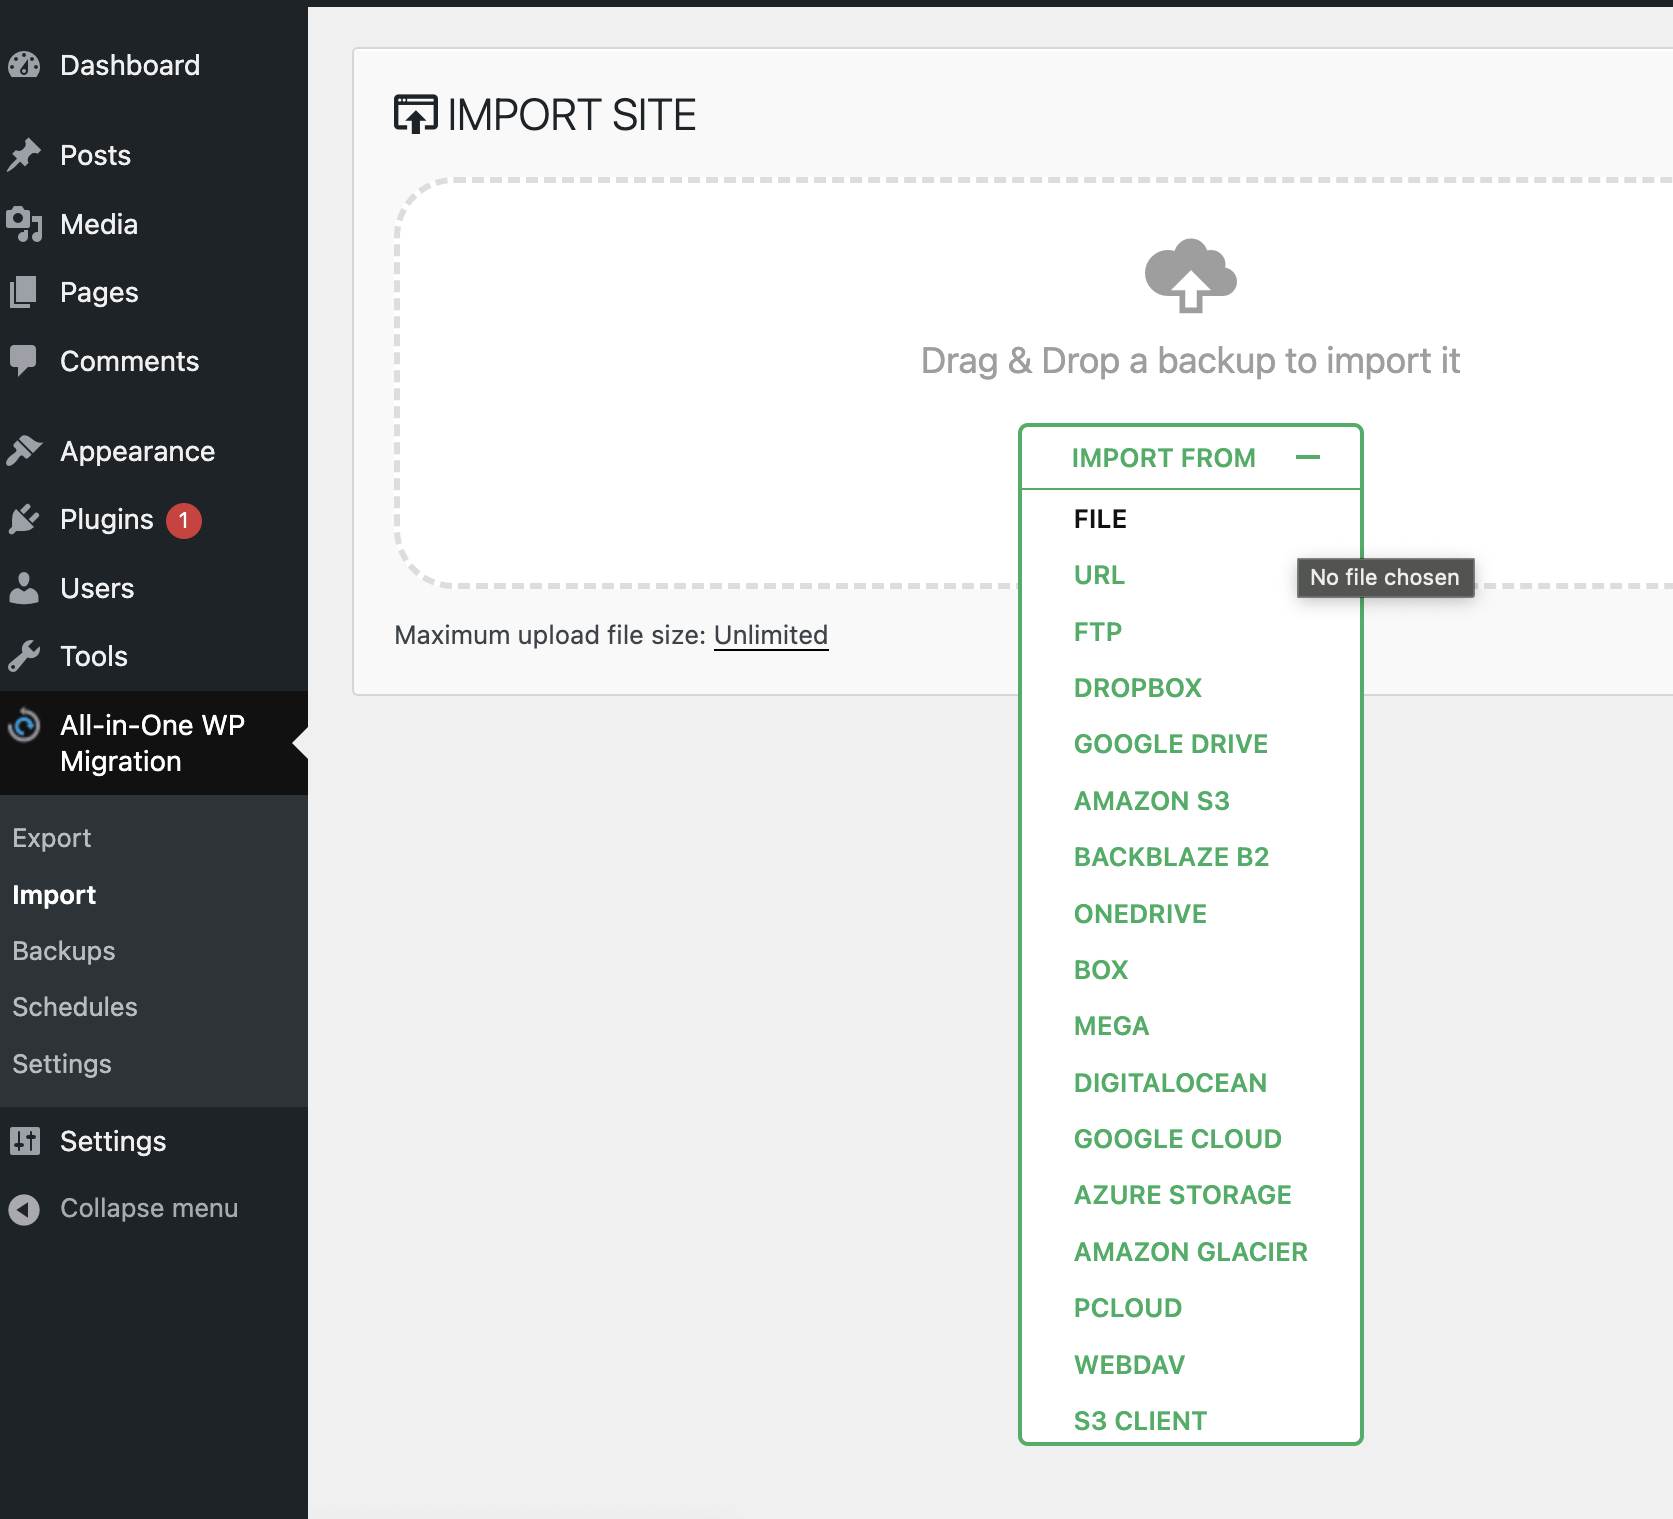
Depending on the option you select, you will then be redirected to the cloud storage or to the specific file. The import process will begin normally, but you will be able to import a large backup in the same way that you would a smaller backup.
When you select a backup to import, the following steps occur:

The import process includes an additional step that warns you that the new backup will overwrite your website’s database, media, plugins, and themes. This is your last chance to cancel the process. After clicking “Proceed,” you will not be able to stop the import process.

When finished, a successful import will show the following message:

Activating Cloud Extensions
All-in-One WP Migration Pro gives you direct integration with all major cloud storage providers. To use them, you need to enable them.
Select the “Extensions” option from the All-in-One WP Migration plugin menu:

On this page, you will see the list of extensions that can be enabled. Note that you can enable all extensions if your use case requires it.

To enable a particular extension, click on the “Enable” button.

Once enabled, the status changes to “Active”, and an extra option becomes available in the All-in-One WP Migration plugin menu

If you have any questions or encounter any problems while using this product, please contact us at su*****@******sk.com.