To accomplish this, the first step is to install and activate the All-in-One WP Migration Unlimited Extension.
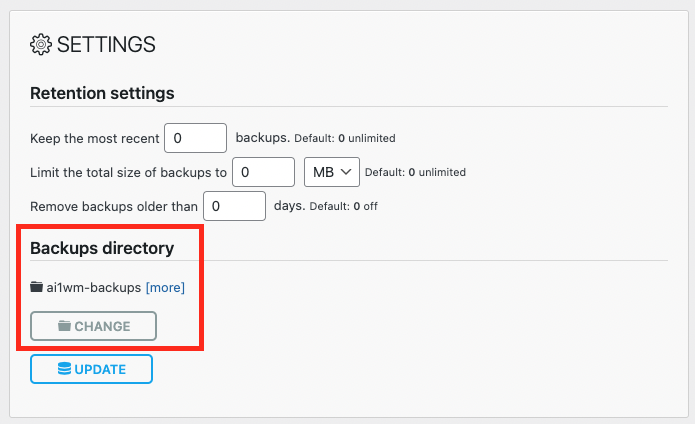
Navigate to the All-in-One WP Migration > Settings page. You will see something similar to the image shown below:
Click on the “Change” button.
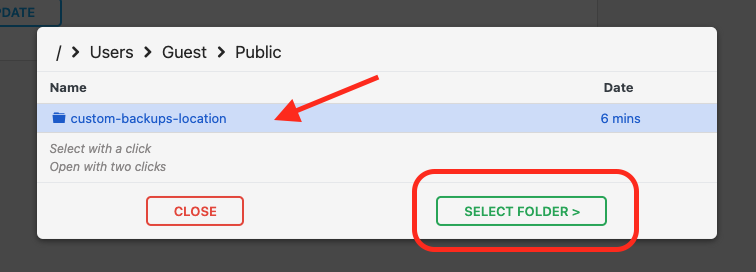
A folder browser popup will appear. Browse for the desired folder on the server, select it, and click the “Select Folder” button.
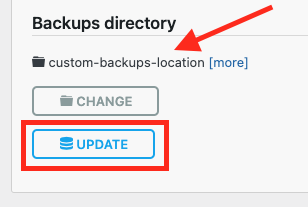
The “Backups directory” section should be updated with a new folder name.
To save the changes, click the “Update” button
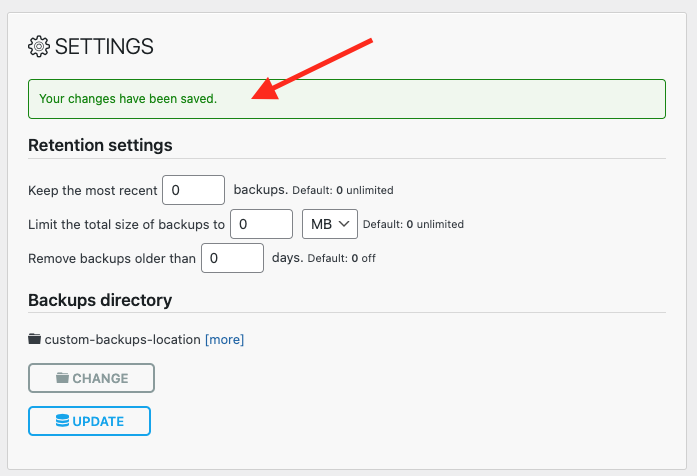
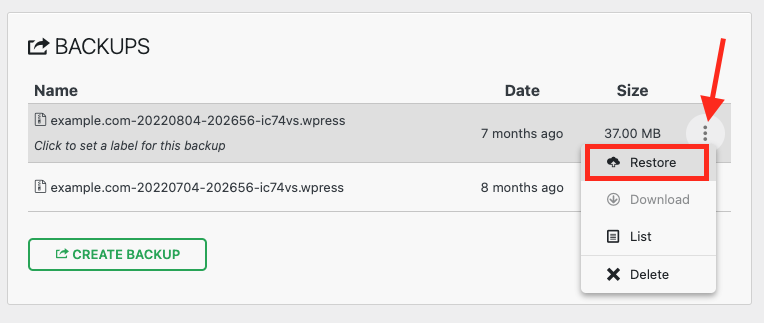
After the changes have been saved, you can navigate to the All-in-One WP Migration > Backups page and view all backups stored in the selected folder.
To restore a selected backup, click on the vertical three dots menu on the desired backup and select “Restore” from the popup menu.
Once the backup has been restored, you can change the “Backups directory” to the previous one or keep the new one.

