The Google Cloud Storage Extension extends the functionality of the All-in-One WP migration plugin, connecting your website to your Google Cloud Storage account. This facilitates importing and exporting your website/network of sites directly between your Google Cloud space and your website.
The tool works as an extension to the plugin, so you must have the All-in-One WP Migration plugin installed for it to function.
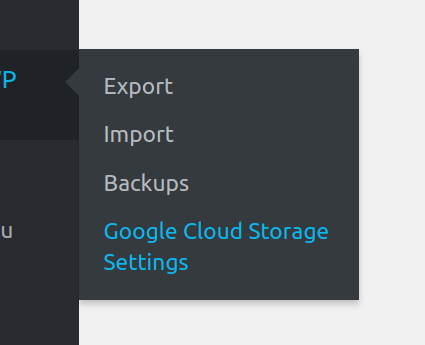
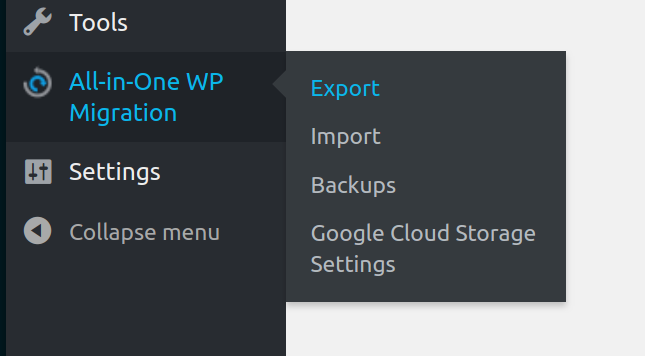
After successfully installing and activating the extension, the Google Cloud Storage settings appear in the All-in-One WP Migration plugin’s dropdown.
For more details about installing the tool, you can visit: https://help.servmask.com/knowledgebase/install-instructions-for-google-cloud-storage-extension/
This tutorial contains details of:
- Available Google Cloud Storage Extension settings
- Export using Microsoft Google Cloud Storage Extension
- Import using Microsoft Google Cloud Storage Extension
1. Google Cloud Storage Extension Settings
Once you successfully install and activate the extension successfully, the Google Cloud Storage settings appear in the dropdown of the All-in-One WP Migration plugin in WordPress.
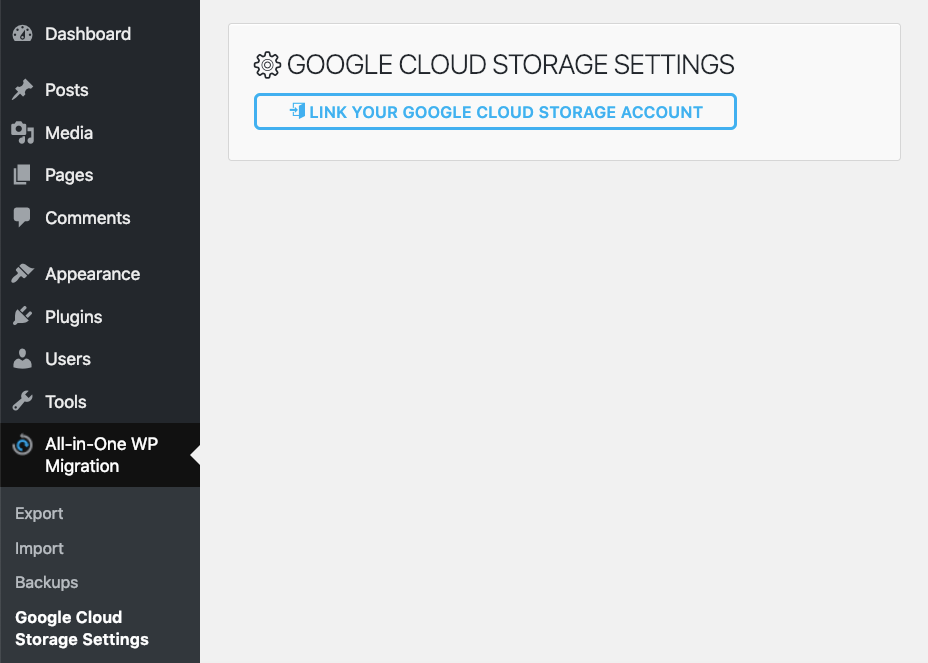
When you click “Google Cloud Storage Settings,” you will be taken to the settings page. For the extension to connect to your Google Cloud Storage account, you must enter your Google Cloud Storage login information. If you do not connect with your account, you will be unable to use the extension.
When you log in with your credentials, you’ll be taken to the Settings page, where you can manage your settings.
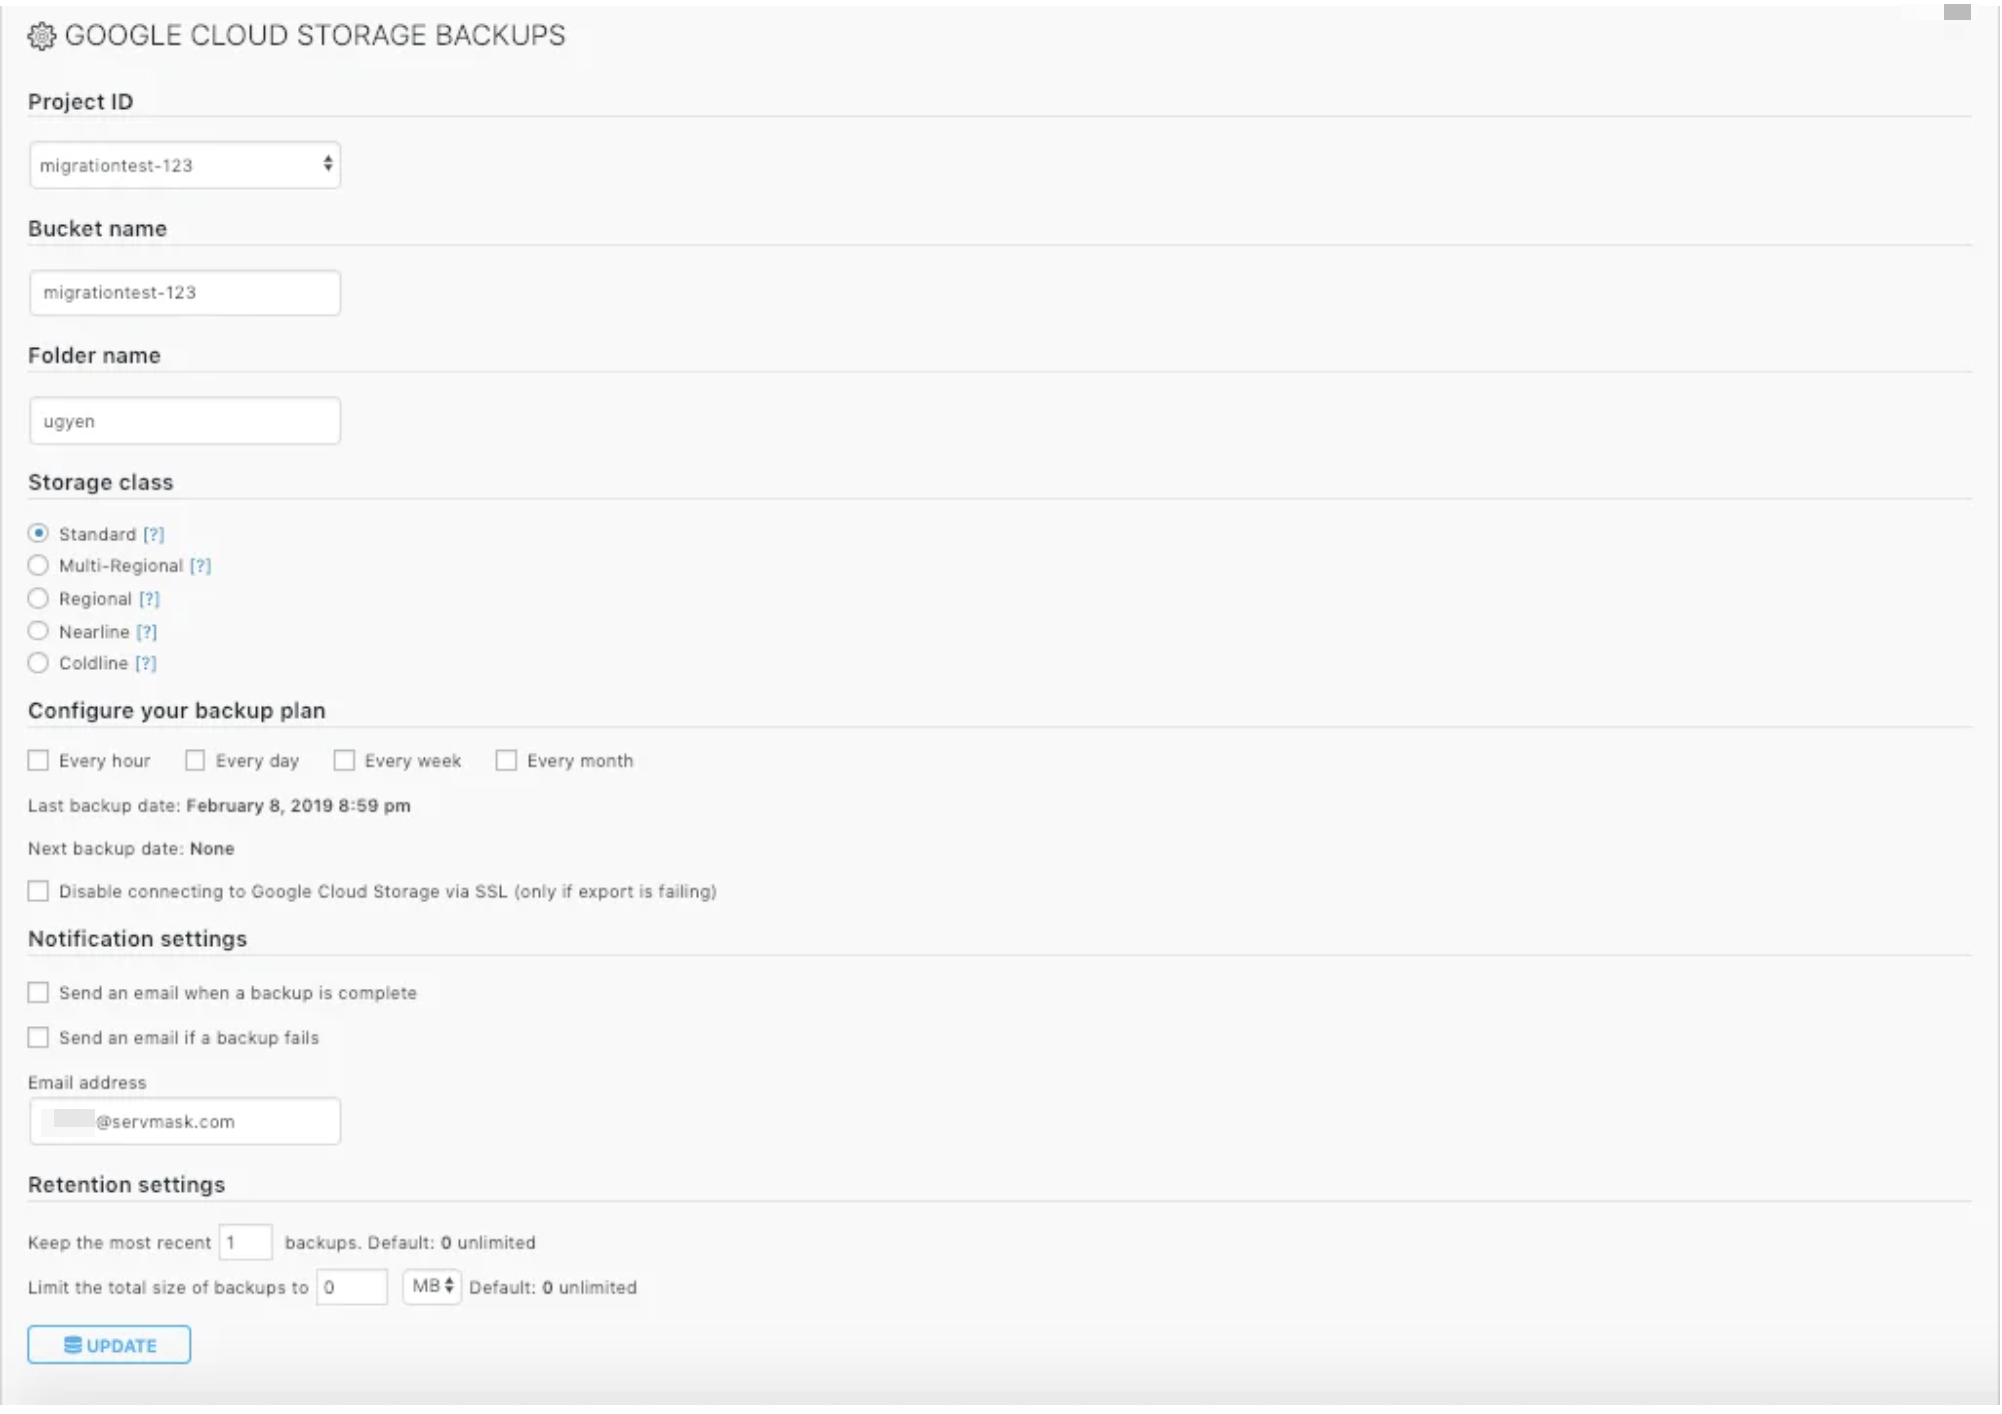
You can set a time for periodic automated backups of your website using one of the options—”Every hour,” “Every day,” “Every week,” or “Every month.”
You can receive backup completion notifications to the email address you enter in the “Notification Settings” box on the Settings page.
By default, the extension creates a folder in your Google Cloud account named ‘[your-wordpress-site-name]-wordpress’. You can also set up a preferred destination folder in your Google Cloud account to store the backups.
You can choose how many backups you want to keep on your Google Cloud storage and the total size of backups you want to keep on your server—this is a great option if you only have a limited amount of storage space.
After setting up your desired options, press the “Update” button to save them.


By moving from slow internet to fast internet, you can use the Transfer setting to increase upload and download speeds for Import to and Export from migrating sites to your preferred WordPress sites.
2. Export Using Google Cloud Storage Extension
You can initiate the export process using Google Cloud Storage extension from the Export option in the All-in-One WP Migration plugin menu:
Before you begin the export process, on the Export page, there are some additional backup settings you can use:

Using the Find and Replace fields, you can have the text in your current site replaced in your backup. Please remember that this change can affect your user access details to the site. Be careful what you replace.
There are options to exclude items from your backups, such as spam comments, themes, inactive plugins, and cache.
You can also protect your backup with a password for more security. Be sure to store your password securely so you don’t permanently lock out your backup.
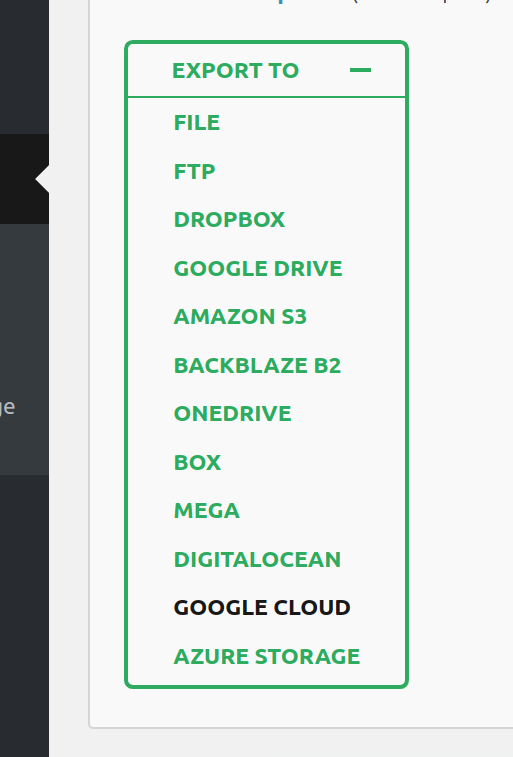
After selecting Export from the preceding options, you can choose to create an archive using Google Cloud Storage from the dropdown menu:
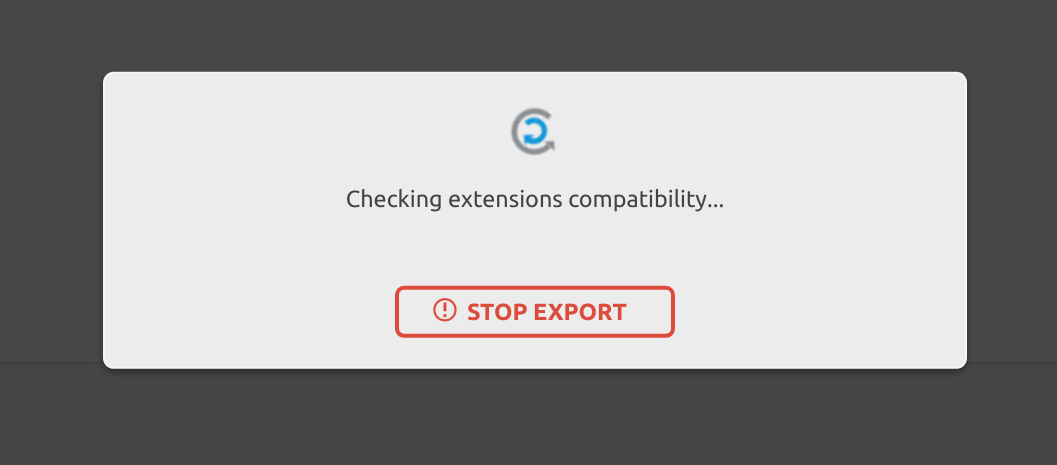
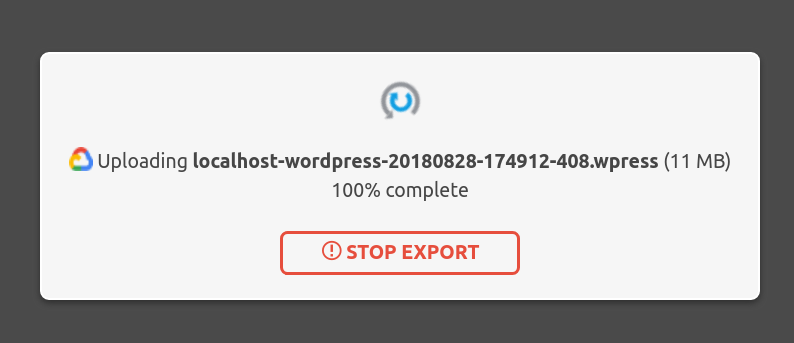
When you select one of the options, the export process begins, and the following window appears:
You should see the following message after you’ve created your export and it’s been successfully uploaded to your cloud:
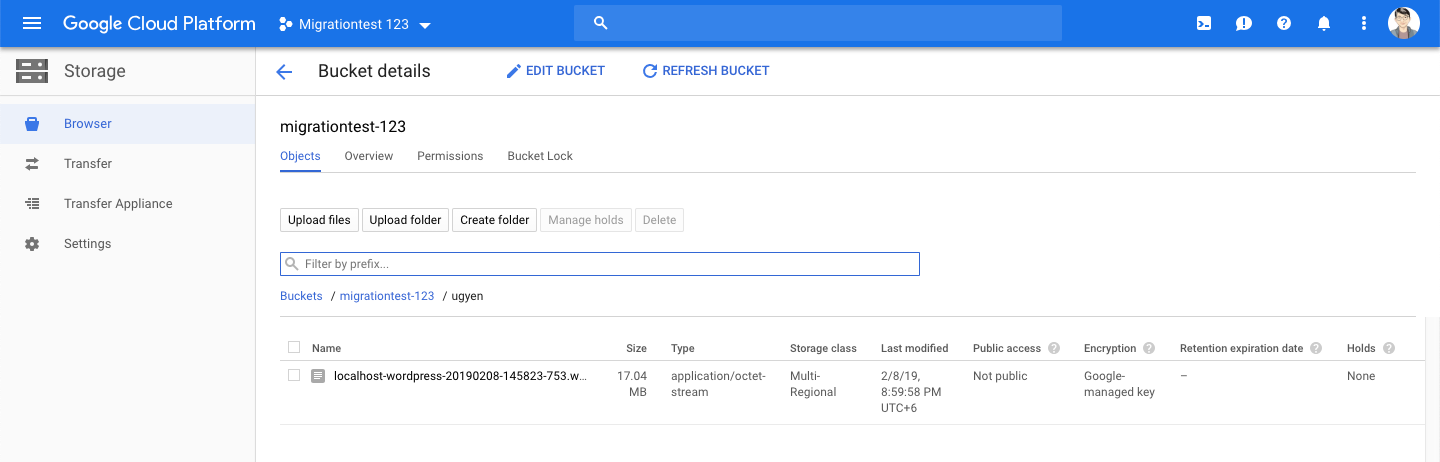
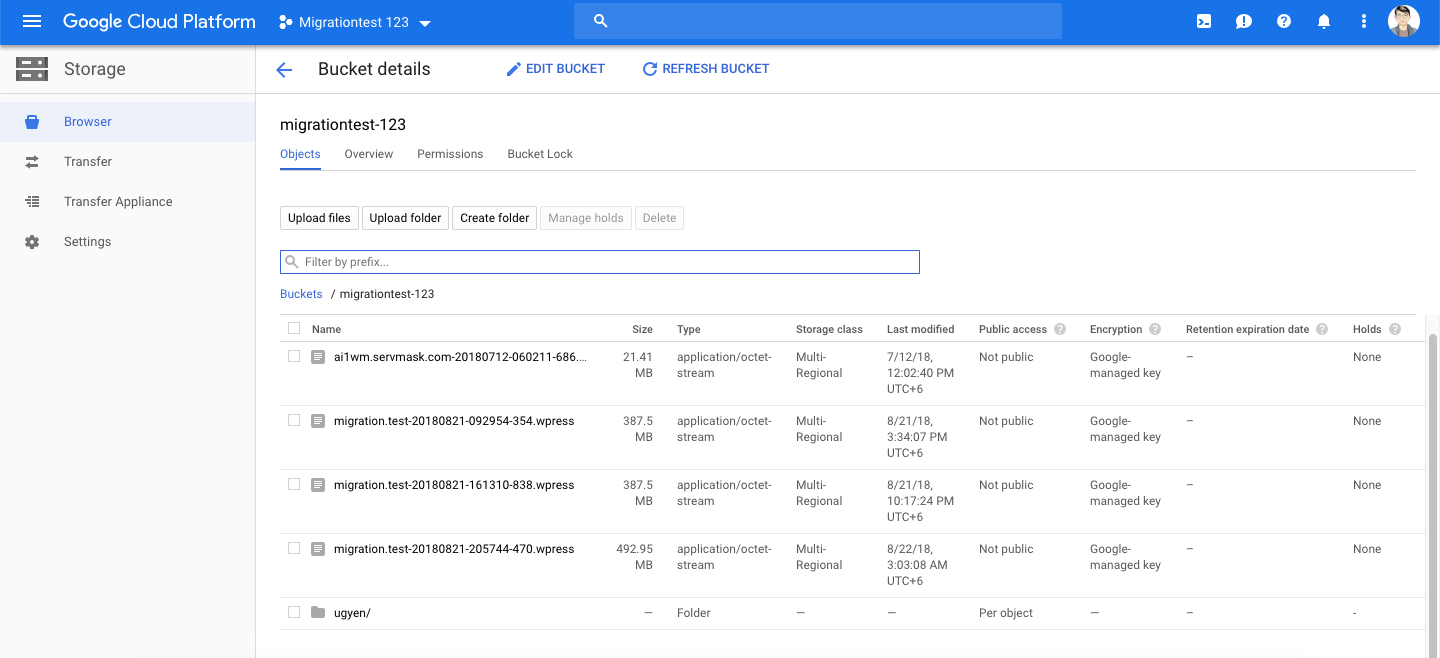
The extension creates a project and a bucket inside your Google Cloud Storage account named ‘[your-wordpress-site-name]-wordpress’. Inside that bucket, all your archives are created and stored using the All-in-One WP Migration plugin. Depending on your site name, the folder would look like this:
3. Import Using Google Cloud Storage Extension
You can begin the import process by selecting Import from the All-in-One WP Migration plugin menu:

When you select this option, a new “Import Site” window appears. From a dropdown menu, you can select where to import a backup:

When you select Google Cloud Storage, a window will appear that displays your connected cloud files and folders. Select the project from which you want to import the backup, followed by the folder containing it. From there, you can choose which backup to import and then click the Import button to begin the import process:
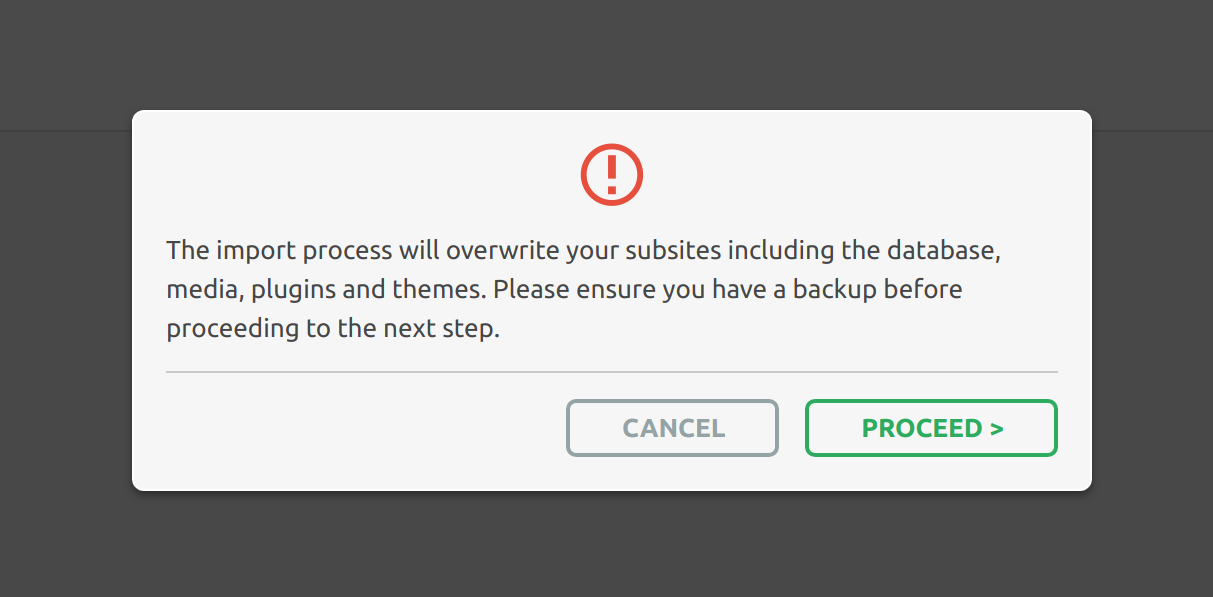
The Import process includes an additional step that warns you that the new backup will overwrite your website’s database, media, plugins, and themes.
This is the last step from which you can cancel the process. After pressing “Proceed,” you cannot stop the import process.
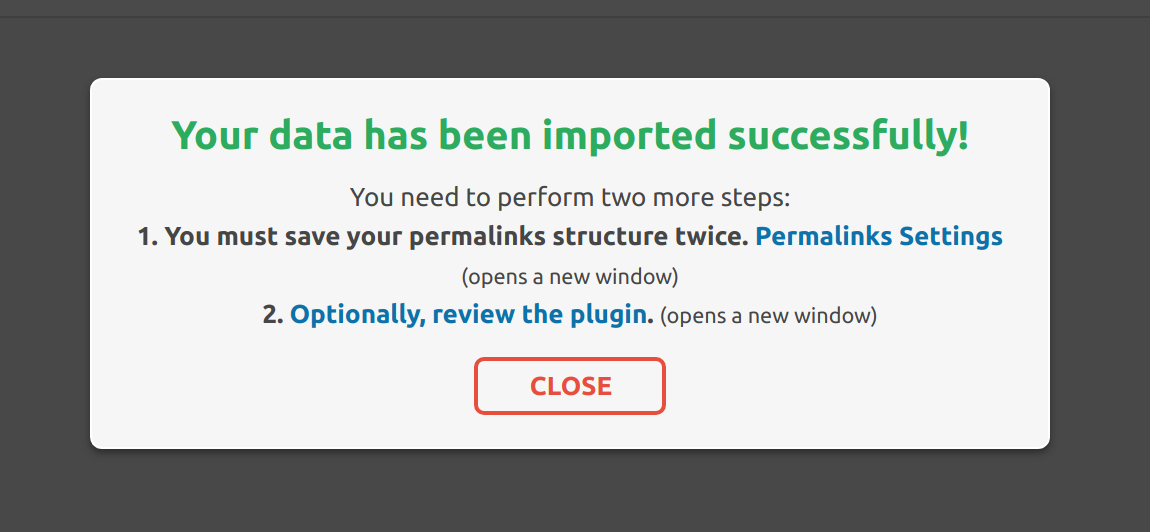
When finished, a successful import will display this message: