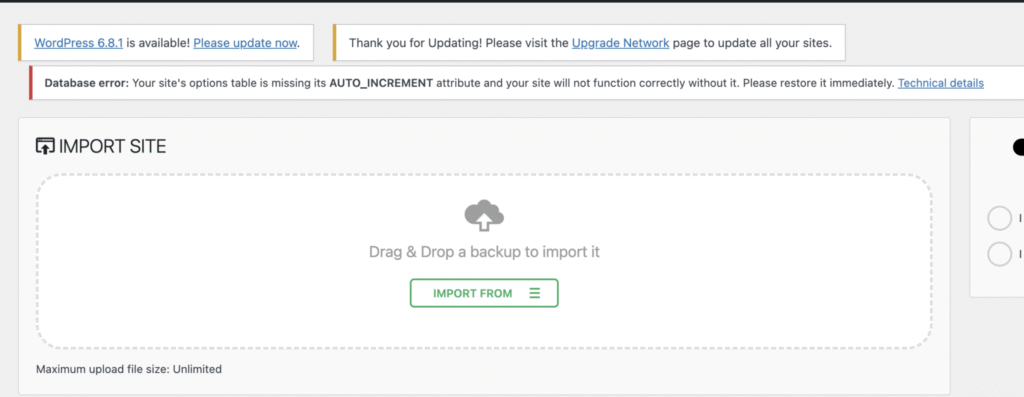
If you get an error telling you that your site’s options table is missing its AUTO_INCREMENT attributes, it can lead to issues such as failed inserts, plugin errors, or unexpected behavior. This guide will walk you through how to resolve this issue.
Option 1: phpMyAdmin
Prerequisites
- Access to phpMyAdmin via your web hosting control panel (e.g., cPanel, Plesk).
- Basic understanding of your database structure.
Log in to phpMyAdmin
Once logged in, in the list of tables, select one of the wp_options WordPress table where you want to add the AUTO_INCREMENT attribute.
In the wp_options table, click on the “Structure” tab at the top, which will show all the columns and their properties
Look for the column that is associated with the Primary Key for that table. For the wp_options table, this is the option_id column. Click on the “Change” icon to edit the ID column
Next, edit the form by setting the Type to BIGINT, Length/Values to 20, uncheck the Null option, and then select the “A.I” option, as shown in the screenshot below
Click Save to persist the changes. You should see that AUTO_INCREMENT now shows as below
Option 2: SQL Command Line
First, restore the AUTO_INCREMENT attribute using the following command
ALTER TABLE wp_options MODIFY COLUMN option_id BIGINT(20) UNSIGNED NOT NULL AUTO_INCREMENT;
Then, set a custom starting point for AUTO_INCREMENT. The value should be higher than the current highest wp_options table ID. For example, if the highest ID value in your wp_options table is 500, the AUTO_INCREMENT value should be set to 5000 + 1, which is 5001, as shown below
ALTER TABLE wp_options AUTO_INCREMENT = 5001;
If you have any questions or encounter any problems while using this product, please contact us at su*****@******sk.com.


